How to Storyboard a Dialogue Scene: Shot Patterns That Work
Dialogue is the scene type you'll board the most and the one almost nobody teaches with any specificity. "Get coverage" isn't a plan. Here are four concrete patterns, when to reach for each one, and how to keep three speakers from turning into a geography puzzle.
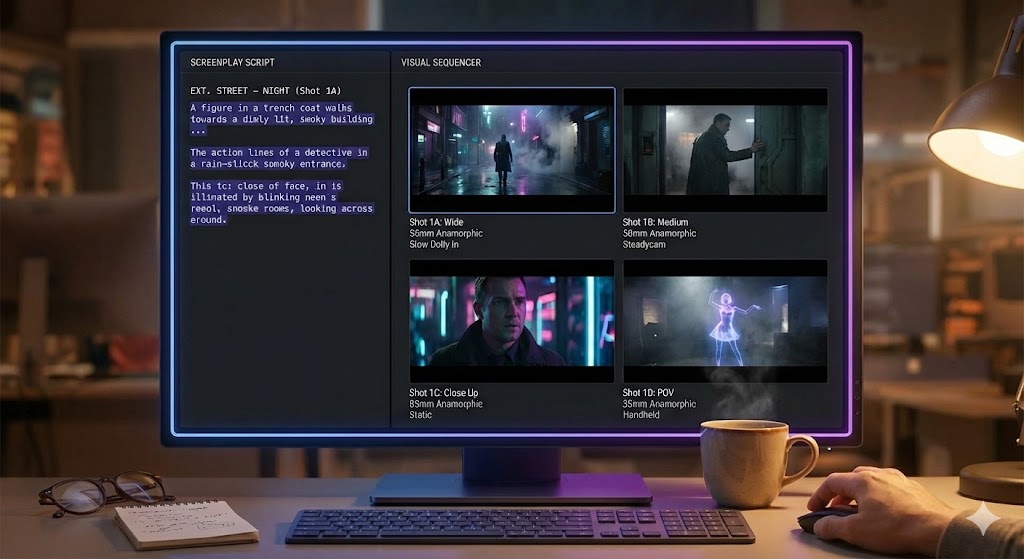
The Scene Everyone Boards, No One Teaches
Open almost any shot list from an independent production and count the scene types. Action beats and stunts get the workshops, the breakdown articles, the specialist coordinators. Dialogue — two or more people talking in a room — gets a fraction of that attention, despite making up most of the runtime on most scripts. The usual advice stops at "get coverage": a wide, some singles, maybe an over-the-shoulder. That's not a plan, it's a shopping list, and it gives you no way to decide which pattern actually serves a given scene.
This is a direct companion to our guide to storyboarding when you can't draw — that piece covers how to get a scene onto paper without art skill; this one covers what to actually put on the paper for the scene type you'll face constantly. The patterns below aren't rules. They're recipes: concrete starting points you adapt to what a specific conversation is doing.
Start With What the Scene Is Doing
Before picking a pattern, answer one question: what changes between the first line and the last? A dialogue scene that ends where it started — same information, same power balance, same emotional temperature — probably didn't need to be a scene. Most dialogue scenes that work are doing one of a few jobs: revealing information, shifting power between two people, or building toward a decision one character makes by the end.
That job should drive your coverage, not the other way around. A scene where power shifts from one character to the other wants a pattern that can visually track the shift — closer on the character gaining ground, wider or lower-angle on the one losing it. A scene that's mostly two people withholding what they actually mean might want almost no cutting at all, so the audience reads tension in the stillness rather than in edits. Pick the pattern after you know the job, not before.
Four Shot Patterns for a Two-Hander
These four cover most two-person dialogue scenes. Board the pattern that matches the scene's function, then adjust size and angle to taste — the pattern is a skeleton, not a straitjacket.
1. Shot / Reverse-Shot
The default for a reason: a wide or medium two-shot to establish geography, then alternating over-the-shoulder or clean singles as the conversation goes back and forth. It's legible, it's fast to cut, and it disappears — which is exactly right for a scene where the content of the dialogue matters more than how it's being shown.
pattern_shot_reverse.txt
Shot 1 — WIDE, EYE LEVEL, STATIC — establish both in the room
Shot 2 — MED, EYE LEVEL, STATIC — OTS on Character A, favoring B
Shot 3 — MED, EYE LEVEL, STATIC — OTS on Character B, favoring A
Shot 4-N — alternate 2 and 3 on dialogue beats
Shot N+1 — CU on whoever lands the scene's key line
2. The Two-Shot Hold
No cutting between speakers at all — a single static or barely-moving wide or medium frame holds both characters for the length of the exchange. Use it when the scene's tension comes from withholding, and cutting would relieve pressure the scene needs to keep. It also reads as a director trusting the performances, which is worth something when the actors are strong enough to carry it.
3. The Push-In Escalation
Start wide or medium, and slowly tighten the frame — either with a real push or with a series of shots that get progressively closer — as the conversation intensifies. This pattern visually enacts the scene's escalation instead of just cutting to reflect it, and it's especially effective for the scene that ends on a confession or an ultimatum, where the CU at the end needs to feel earned rather than sudden.
pattern_push_escalation.txt
Shot 1 — FULL, EYE LEVEL, STATIC — scene opens, both at ease
Shot 2 — MED, EYE LEVEL, DOLLY (slow push) — subject begins pressing the point
Shot 3 — CU, EYE LEVEL, DOLLY (slow push, continued) — held through the reveal
Shot 4 — ECU, STATIC — the reaction, no movement, let it land
4. The Walk-and-Talk
Movement replaces cutting: the characters walk through a space while talking, and the camera tracks or follows in a single continuous take or a small number of long ones. This pattern works when the scene's content is dense but its emotional temperature is even — it keeps a talky scene visually alive without resorting to artificial coverage, and it's a natural fit for a scene that's really about two people avoiding looking at each other directly.
Boarding the same pattern for every dialogue scene in a script is how films end up feeling visually flat regardless of how good the writing is. Vary the pattern with the scene's function, not with a rotation for its own sake.
Boarding Three or More Speakers
Every pattern above gets harder past two people, because there's no longer a single axis to cut across. The fix isn't a different pattern so much as a different discipline: board a master shot that clearly establishes where every person is relative to the others, before you board a single close-up. Without that master locked first, singles and cutaways get boarded in a way that looks fine individually and contradicts itself the moment they're cut together.
From that master, favor grouping over strict alternation: a two-shot of the pair who are actually in conflict, cutting away to a single of the third party only when they have something to react to or say. Boarding every speaker with an individual single for every line turns a group scene into a tennis match nobody can follow. Let the board show who the scene is actually about in a given moment, not just who's talking.
Protect the Eyeline Before You Board a Frame
Every pattern above breaks the same way if you get one thing wrong: the line of action between your speakers. Pick a side of that line before you board the first over-the-shoulder, and keep every subsequent camera position — including a DUTCH angle if the scene calls for one — on that same side. Cross it without a deliberate reset shot and the characters appear to swap places on screen, which reads as a mistake even to an audience that couldn't name the rule.
This is worth boarding explicitly, not just remembering: mark the camera side on your floor plan or staging notes before you draw a single frame, the same way you'd note shot size and movement. A five-second note on a diagram is cheaper than discovering the break in the edit. For the full angle and movement vocabulary these patterns draw on, see our camera angles glossary.
Common Mistakes When Boarding Dialogue
- Covering every line the same way. A scene with no visual variation across ten minutes of runtime is a scene that will feel static in the cut even if the writing isn't.
- Boarding singles before the master. Without a locked master, individual close-ups drift out of geographic sync with each other.
- Treating shot size as decoration. A CU that isn't earned by the scene's escalation reads as arbitrary, not intense.
- Ignoring the eyeline in the board itself. If your storyboard doesn't show which way each character is looking, it can't catch a line-of-action break before the shoot.
If you're prototyping these patterns with an AI storyboard generator rather than drawing them by hand, character drift between frames is the failure mode to watch for specifically in dialogue scenes — we cover what to check before trusting a board in keeping characters consistent across storyboard panels.
Pick the Pattern, Don't Default to It
The reason dialogue scenes are hard to teach in general terms is that the right pattern genuinely depends on what a specific conversation is doing — there's no substitute for asking what changes between the first line and the last, then choosing coverage that makes that change visible. Shot/reverse-shot will always be the safe default, and it will always be the wrong choice for the scene that actually needed stillness, or escalation, or movement instead. Know the four patterns well enough to choose deliberately, and your dialogue scenes will read as directed rather than assembled.
Board the Pattern, Not Just the Coverage List
ShotList.Studio turns a scripted scene into a structured shot list and draft storyboard frames — pick a pattern, then let the tool draft the first pass.
See the tool